

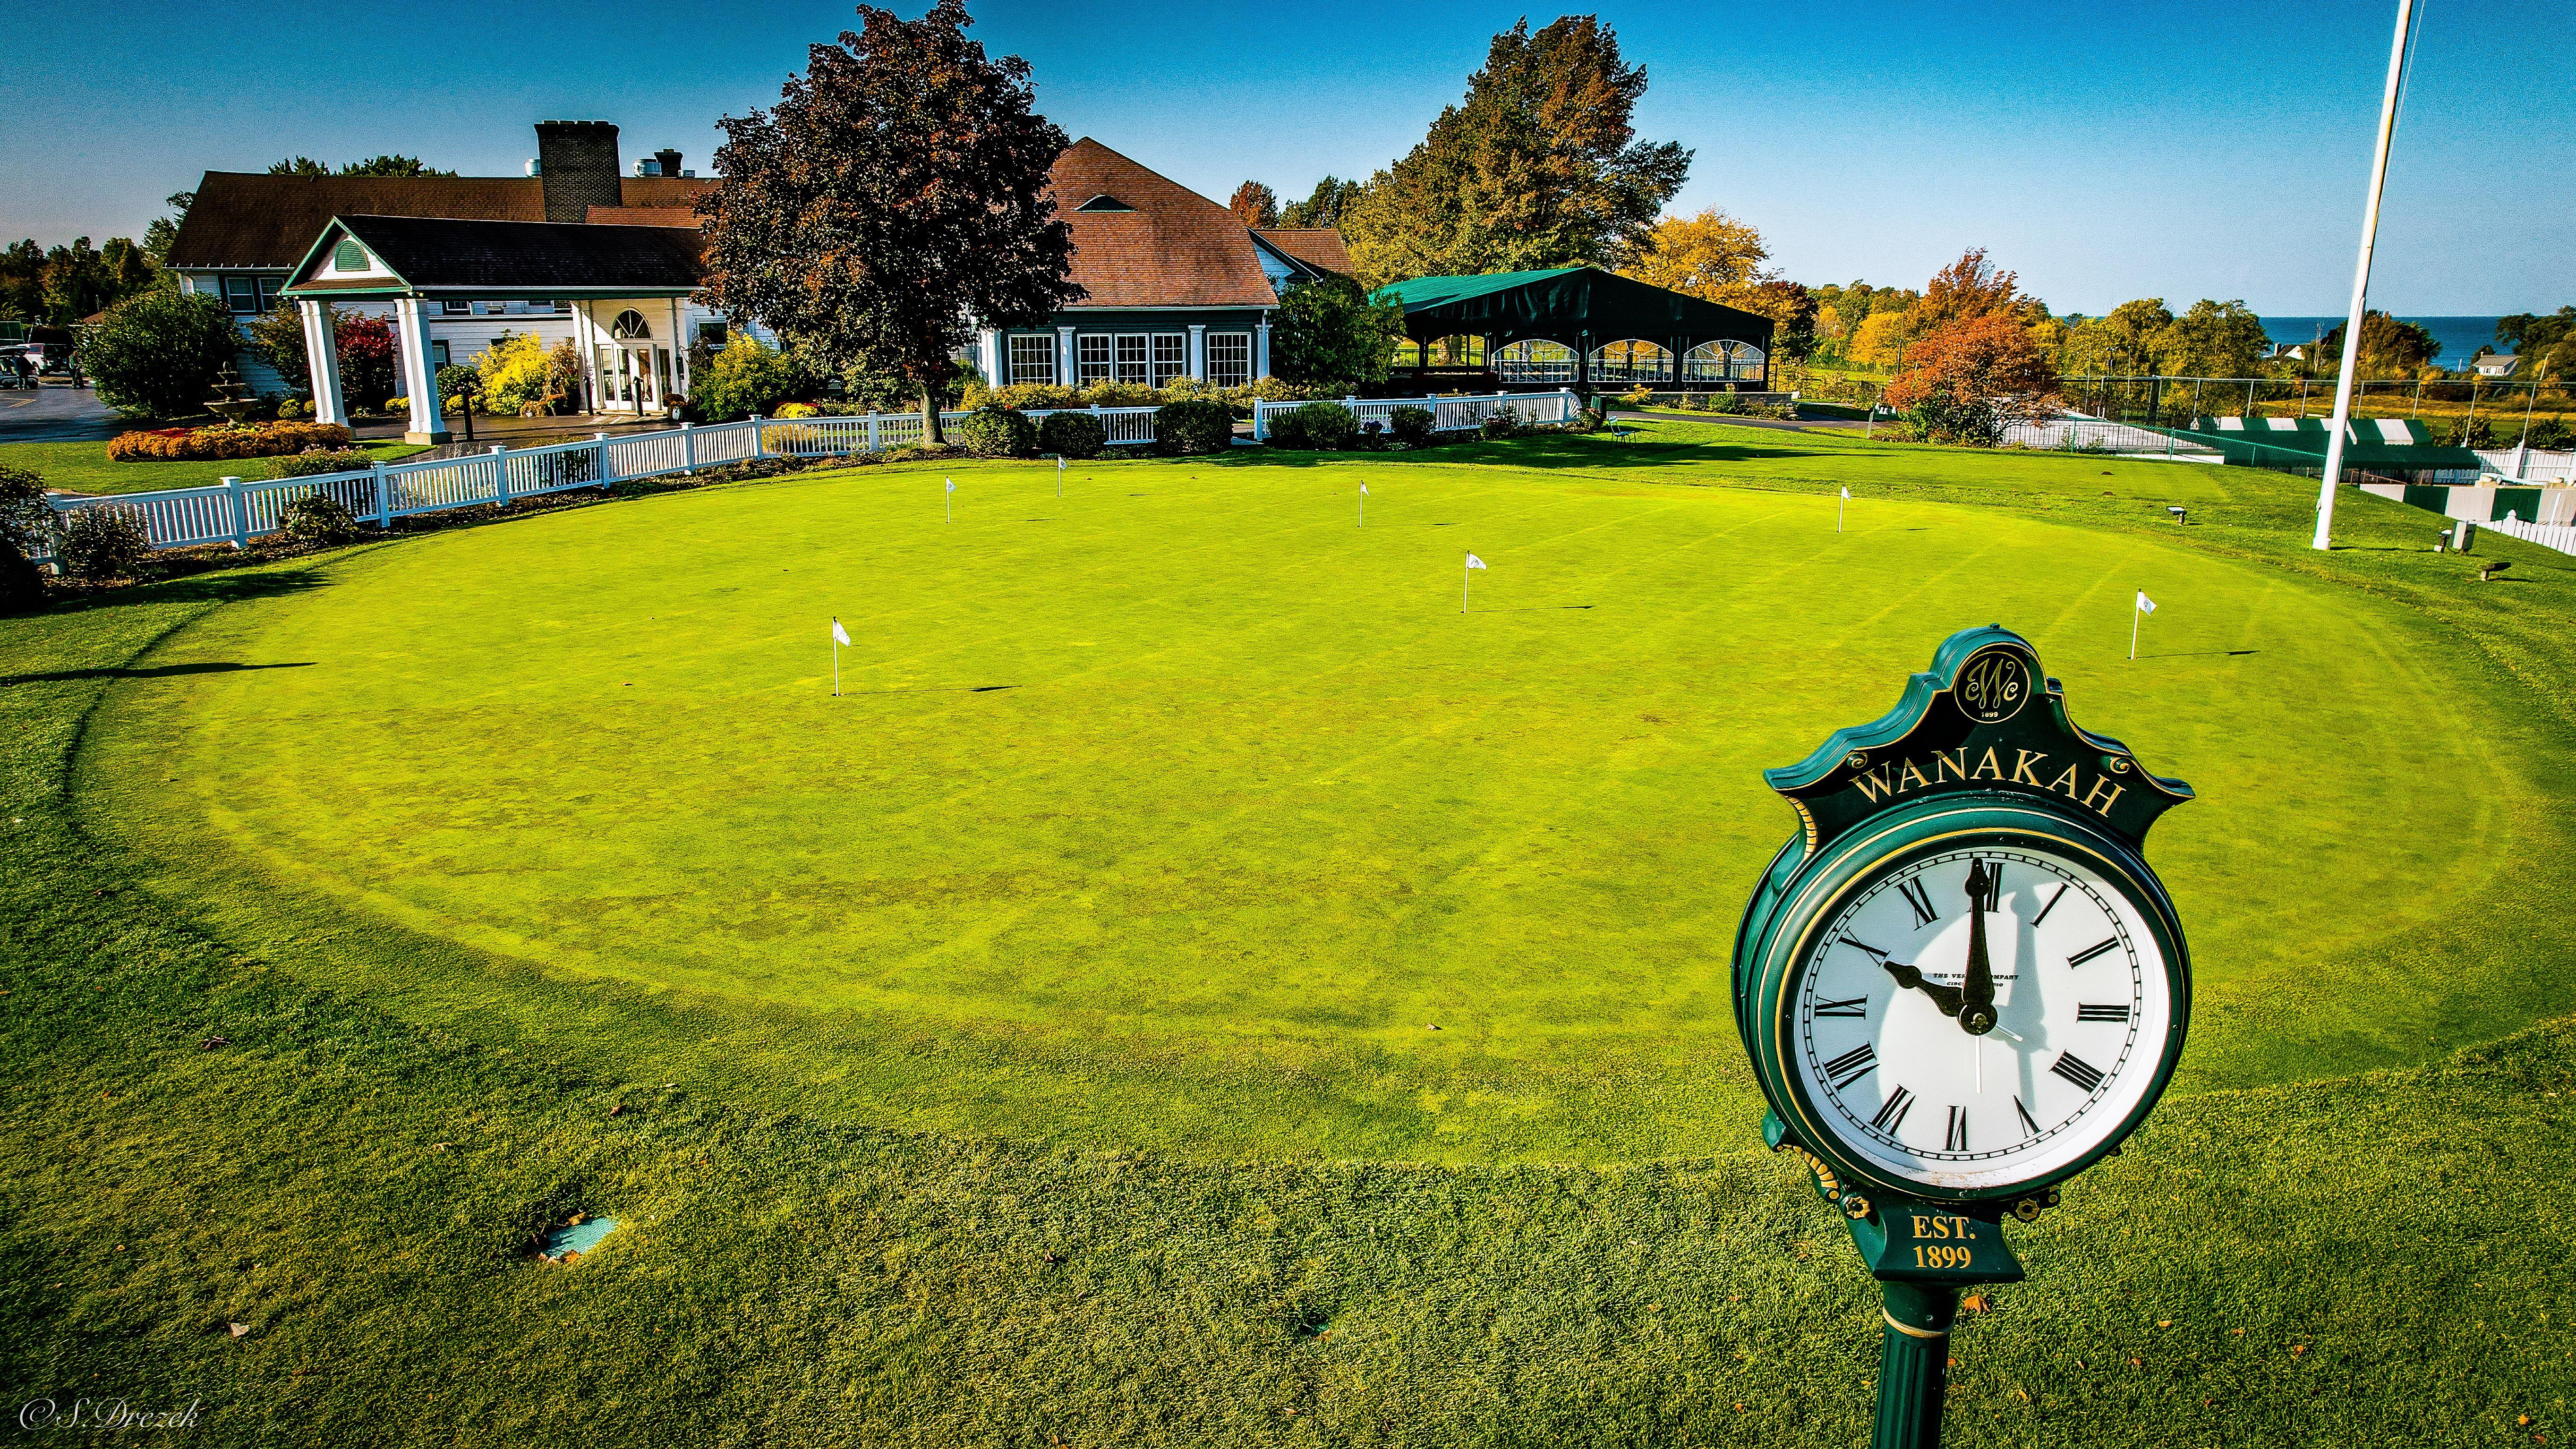
Course Tour

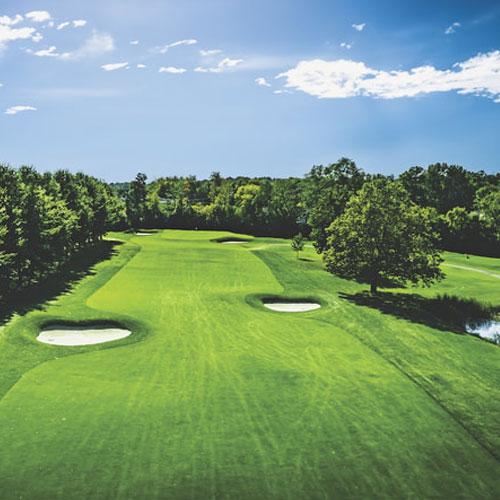
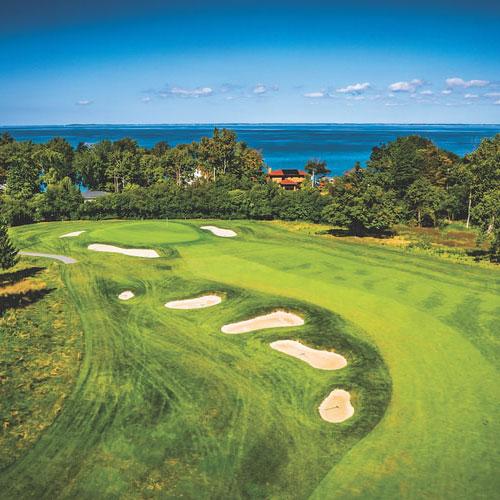
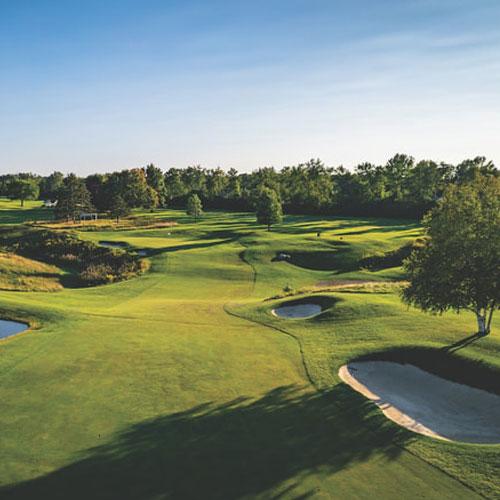
Hole 1
401 Yards
Par 4 With sweeping views of Lake Erie, this downhill tee shot plays to a narrow fairway that is guarded by two fairway bunkers along the inside of the dogleg. Challenging the inside of the dogleg shortens the hole and provide the best approach into the raised green. Golfers must take note of the pin position off the tee to manage the best angle into the green. Trouble is lurking with out of bounds behind the green and the Club’s entry drive that runs parallel to the right side of the hole from tee to green.
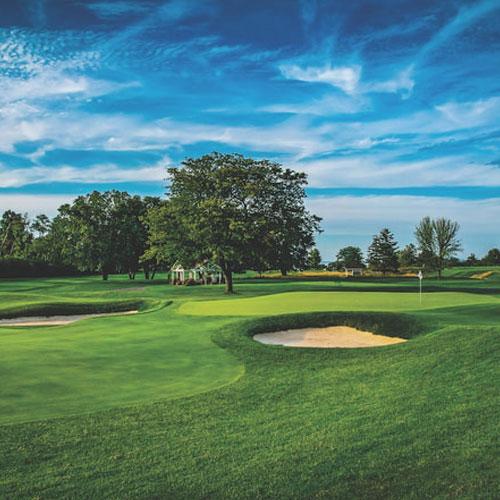
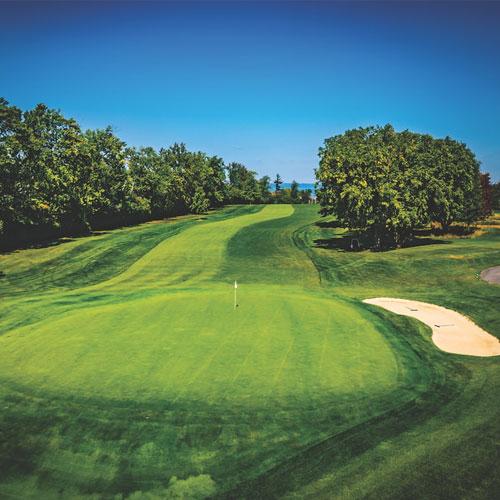
Hole 2
350 Yards
Par 4 This short and strategic uphill par four requires a well executed tee shot to score low. Players that lay back from the fairway bunkers that cut into and pinch the landing area will be left with a mid length approach shot. Players that aggressively challenge the bunkers or even the green will be left with a strong opportunity for a birdie! The green is arguably the smallest and hardest at Wanakah, sloping severely from back left to front right.
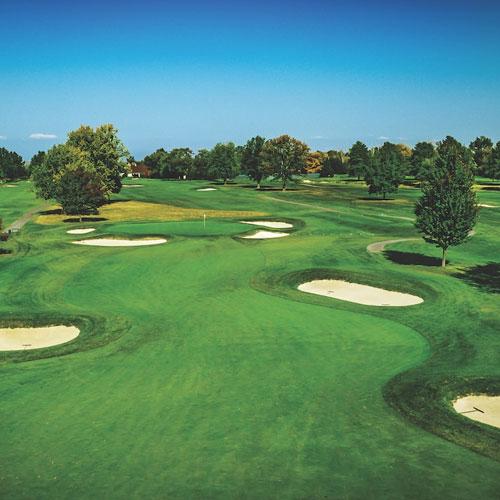
Hole 3
520 Yards
Par 5 A drive that threads the needle between the fairway bunkers on both the left and right side of the landing area will have a player thinking eagle on this relatively short par 5. Out of bounds down the entire left side of the hole presents risk for the tee shot and the approach into the second landing area and green. Large bunkers protect the entry into the green and will need to be navigated while playing aggressively.

Hole 4
180 Yards
Par 3 This strong par three hole requires a well thought out tee shot based on the days pin location. The green is larger than it looks from the tee and its playing surface is bisected by swales and subtle ridges that define the cupping areas. Be sure not to short side yourself with a miss, as recover shots to get “up and down” will be challenging from the left or back side of the green.
Hole 5
574 Yards
Par 5 A fade is required off this tee to avoid the fairway bunker and the large maple trees down the right side of the hole. The fifth is typically a three-shot hole given its length and orientation into the predominate westerly wind. The second shot must negotiate a cross bunker that cuts into the right side of the landing area and a large sprawling bunker that sits 20 yards to the short left of the green. Avoid the steep run off to the right and back side of the green. This putting surface runs faster from left to right than it appears.
Hole 6
403 Yards
Par 4 Perhaps the hardest tee shot at Wanakah, this medium length par 4 plays directly into the wind with out of bounds left, a small pond to the right and two well placed fairway bunkers that guard the ideal landing zone. Players can choose to be aggressive with driver or lay back from the fairway bunkers with a long iron. However, a conservative tee shot will leave a mid to long iron into the raised plateau green. Golfers must find the putting surface to walk away with a par.
Hole 7
207 Yards
Par 3 This relatively straightforward par 3 plays to a subtly difficult green that runs more from right to left than it looks. With bunkers that protect the front of the green and runoffs to the left, right and back of the green, accuracy is imperative to finding the putting surface. Birdie awaits a tee shot that finds the correct section of the green. Bigger scores loom if attention and focus are not given to the execution of the hole.
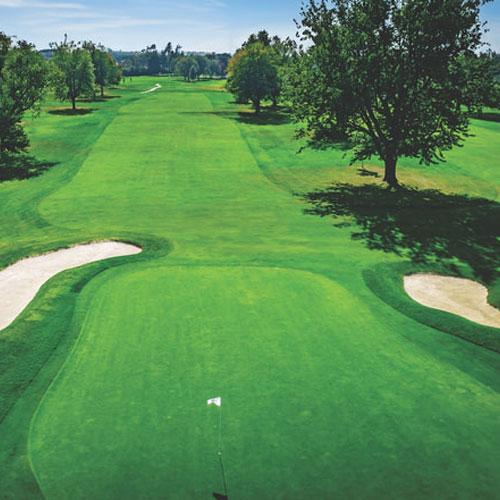
Hole 8
377 Yards
Par 4 The strategically placed fairway bunkers present a challenge off the tee as they cut into and obscure the line of play down the hole. Laying back from the layered fairway bunkers is an option but will leave a mid to short iron into the small green. A drive that splits the fairway bunkers will leave just a short wedge into the putting surface. This is a classic risk and reward short par 4 that requires a golfer to make a decision off the tee…play aggressive or conservative.
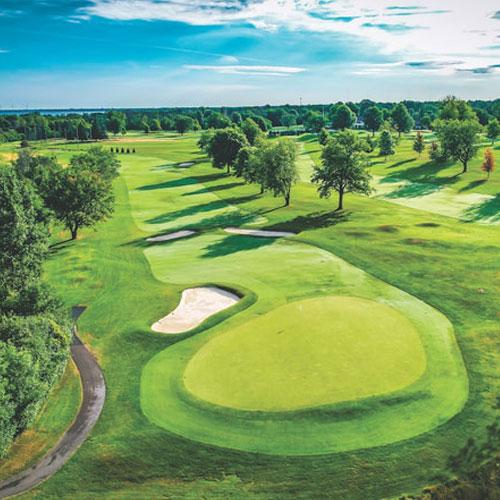
Hole 9
457 Yards
Par 4 Out: 3469 Yards
Length is the challenge on the closing hole of the front side. The prevailing left to right wind makes it difficult to hold a drive in the fairway and avoid the bunkers that cut into the front right and back left sides of the landing area. The medium size green sits above the fairway and is guarded to the front right with a large bunker and deep pot bunkers to the left. Consider leaving the approach shot into the green below the hole as putting from above the back to front sloped green can be treacherous.
Hole 10
342 Yards
Par 4 This strong right to left dogleg hole provides another risk and reward tee shot with several bunkers that protect the inside of the hole. The green is drivable but presents risk with the fairway bunkers, out of bounds behind the green and a broad native grass area on the left side of the hole and through the right side of the doglegged fairway. An iron or a fairway wood off the tee leaves just a wedge into this low-lying green that is bisected with a well defined and menacing swale.
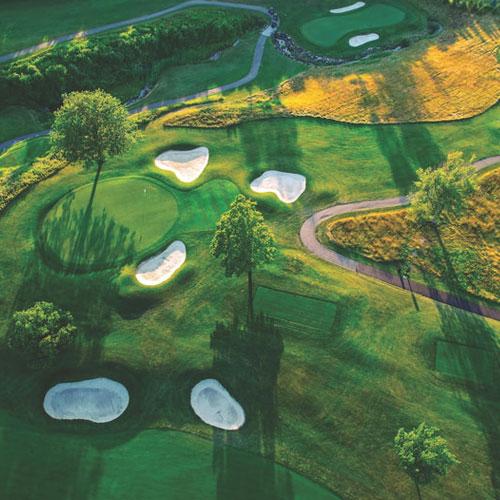
Hole 11
555 Yards
Par 5 This long, demanding par 5 requires attention to cover the yardages over the sprawling bunker protecting the inside of the first dogleg and the daunting cross bunkers at the second landing area. The bunkers are deceiving and require precise golf shots to find the fairway and score well. The tee shot and approach to the green play into a prevailing wind generally making this a three-shot hole. Missing short left of the green is the ideal angle to a back right pin. Shots missed right of the green may flirt with the out of bounds and a poor angle to the wildly deceptive green.
Hole 12
174 Yards
Par 3 Club selection is imperative for this uphill par three that features a two-tiered green that is sloped from back to front. The bunkers that are cut into the front of the green deceive the eye and the overall distance of the hole. Staying below the hole on the tee shot is imperative as a putt from above will be hard to control. The left greenside bunker looks forgiving but with the prevailing wind and green slope it’s a difficult up and down from this location.
Hole 13
479 Yards
Par 4 Aim to the left off the tee to avoid the large cavernous grass bunker that is cut into the right side of the landing area. The grass bunker is a very long carry! A broad mound obscures the front right side of the green and must be negotiated on the approach to this convex shaped green. Shots that miss the green will find a subtle swale along the right side and a steep roll off on the left. Study the greens contouring for putting and pitching as its the most challenging to read and recover from on the course.
Hole 14
571 Yards
Par 5 Swing away on this long par 5 that plays to one of the most beautiful and intimate green complexes on the course. The layup on this hole at the second landing area is very tight with bunkers right and a fairway sloping left to the water hazard. Move the layup as far down the fairway as possible as the third shot is almost always affected by the wind and played to a small, narrow green that is difficult to hold. Error to the right on the green approach as missed shots to the left will enter the hazard and require a redo.

Hole 15
197 Yards
Par 3 Wanakah’s signature hole boasts an extremely challenging tee shot from the elevated tees. The green is long and slender and sits in a hollow adjacent to a natural creek. The left bunker is a daunting spot to get the ball up and down, but pushing the tee shot right brings the water hazard into play given the prevailing left to right wind and small target area. Focus and attention are required to score well. Par here may pick up a full stroke on the field!
Hole 16
440 Yards
Par 4 This long par 4 plays uphill with a blind tee shot. Out of bounds runs the entire length of the right side of the hole right so don’t miss there. Large trees block the line to the green from the left rough. Accuracy off the tee is a must! A 3-wood or driving iron off the tee is a safe play, but it will require a mid to long iron approach into this large green. A solid drive down the center of the fairway will afford and open view of the green and a great opportunity to make a par.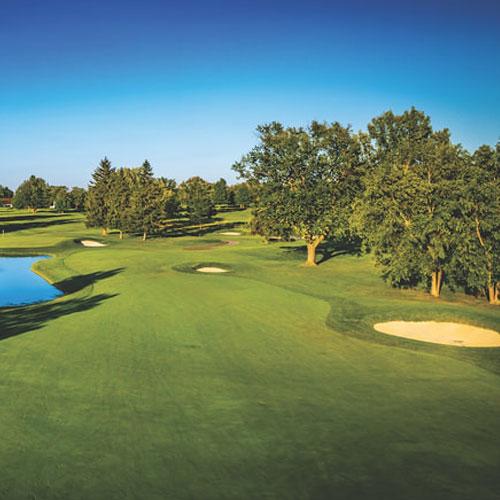
Hole 17
357 Yards
Par 4 Another great short par 4 that will yield birdie with aggressive play but can also lead to a big score given the narrowness of the landing area as you move toward the green. The left side of the hole is flanked by a large pond and the right with bunkers and trees. Generally, a long iron off the tee to the wider section of the landing area is the smart play. The green surface is tiered and provides many interesting pin positions. Even with a wedge, don’t get too aggressive on the approach as water flanks the front and left sides of the green.
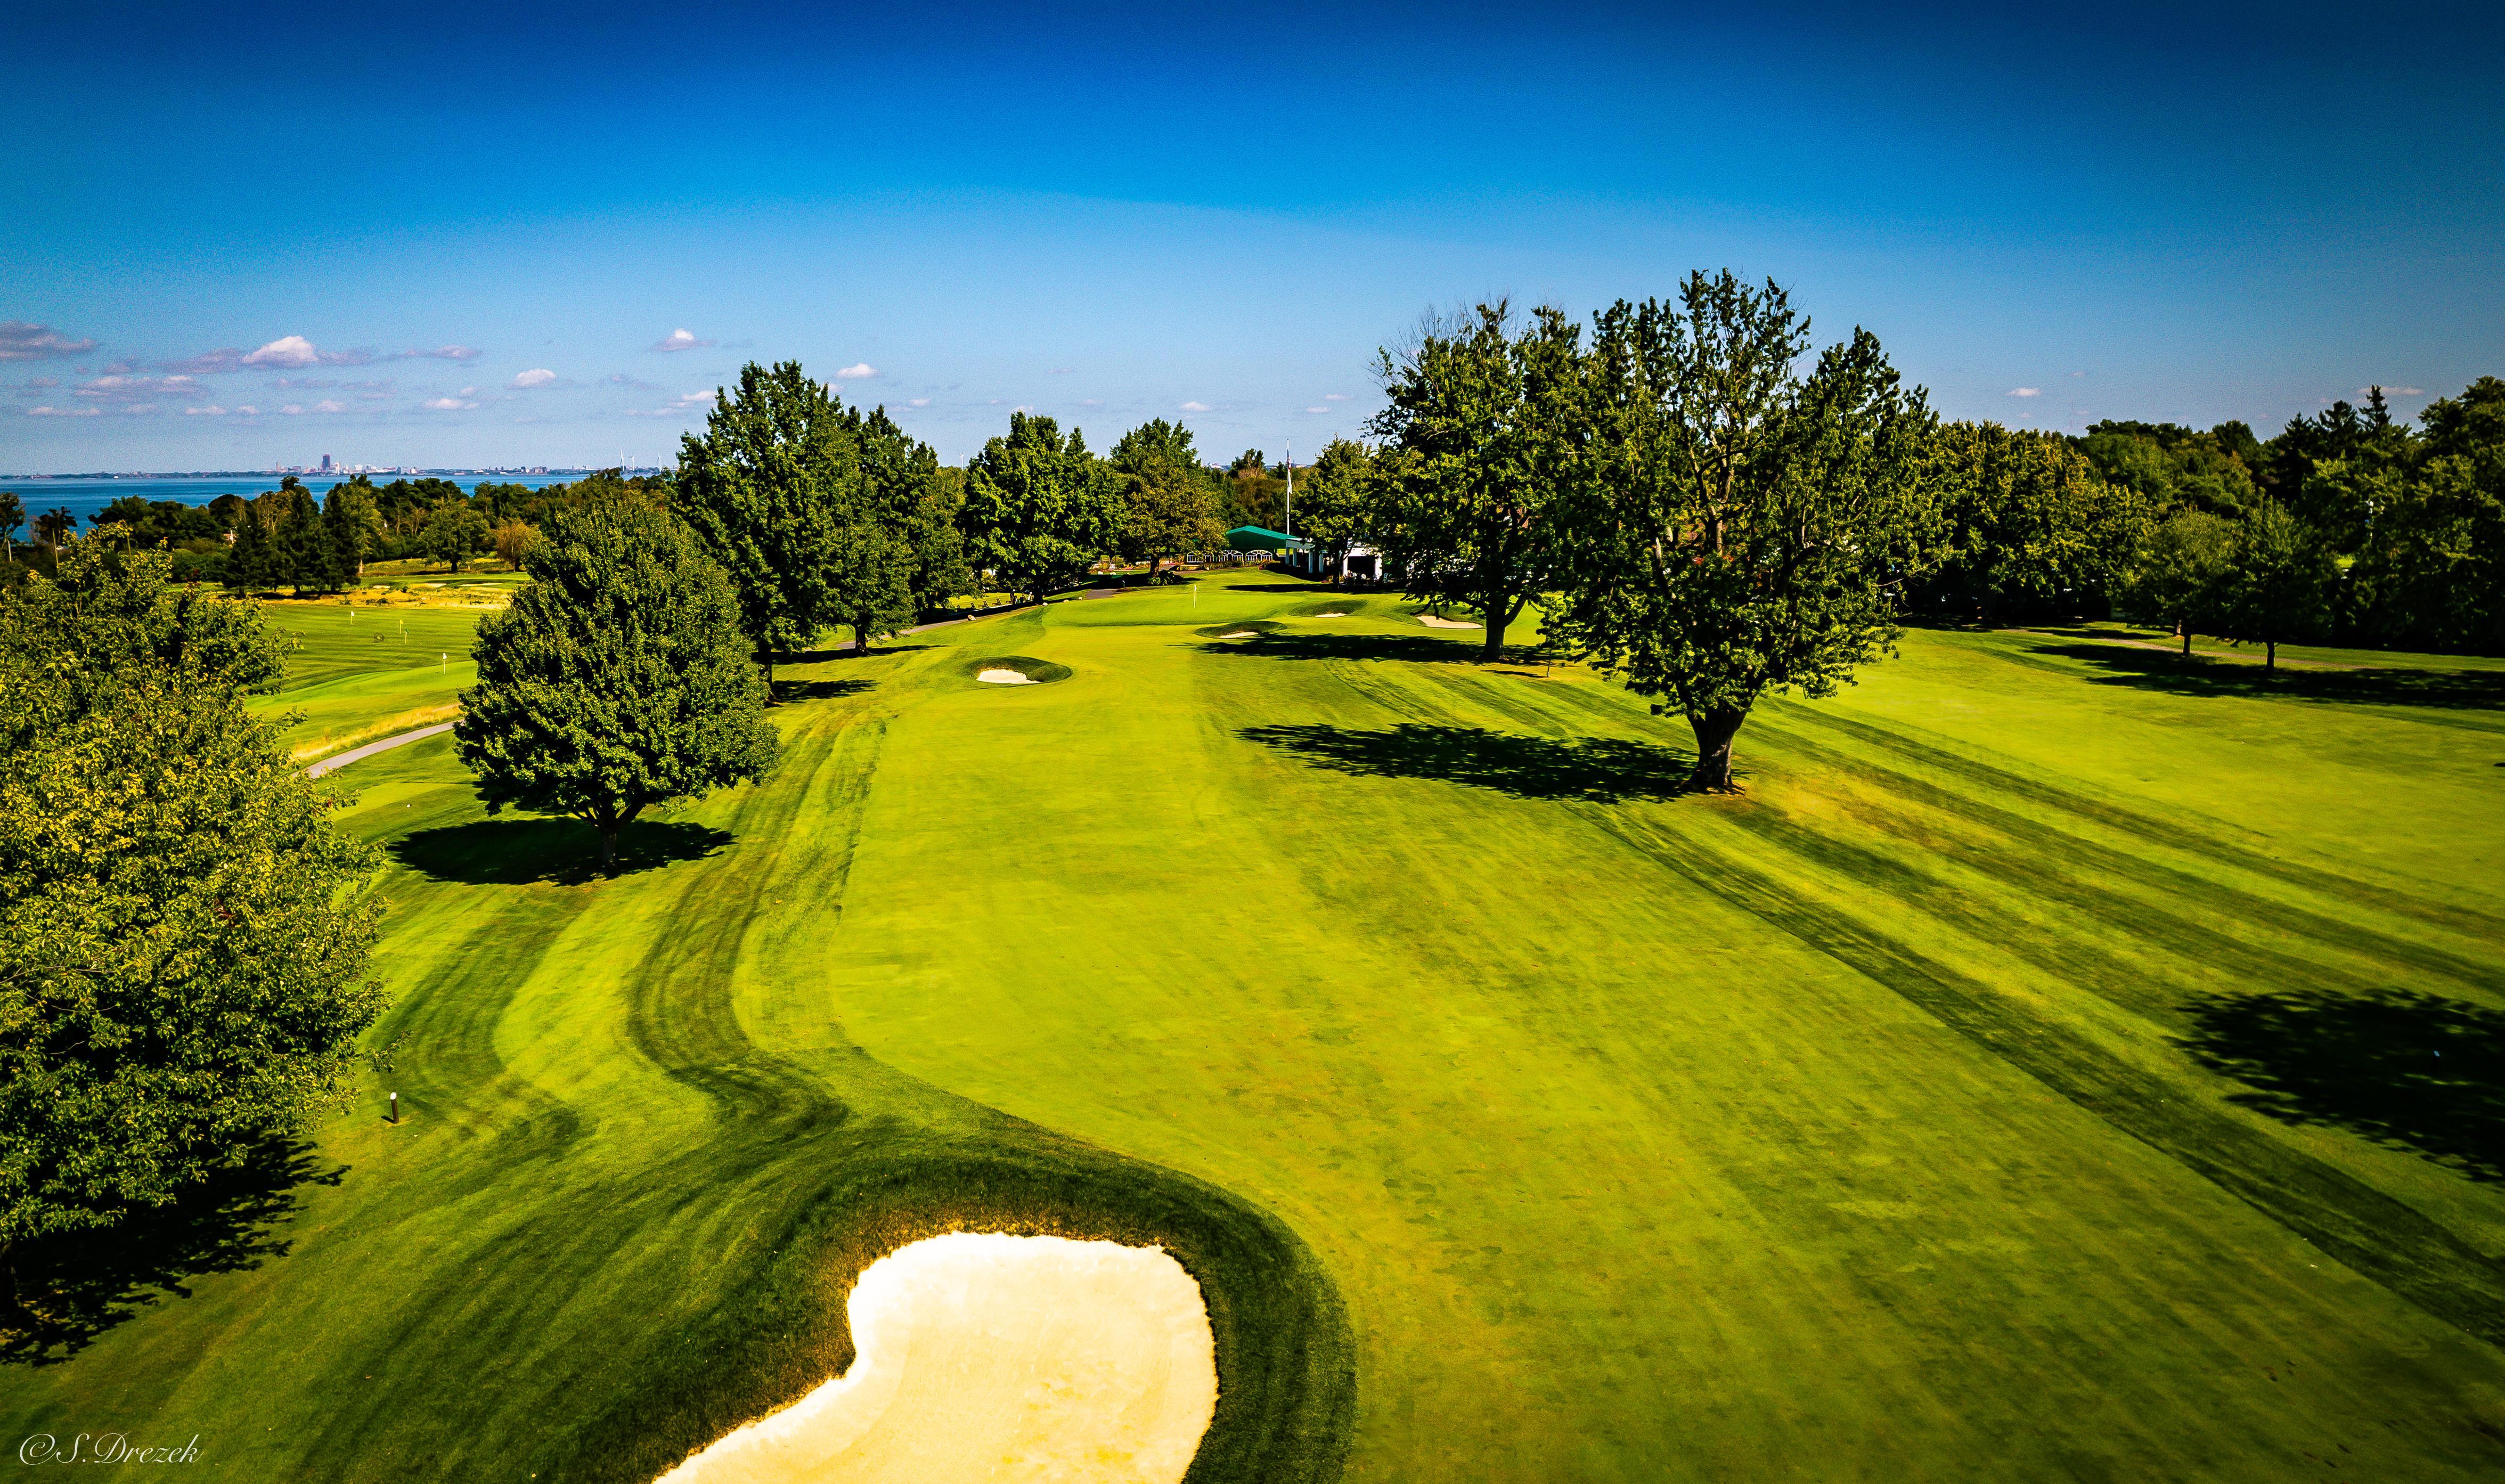
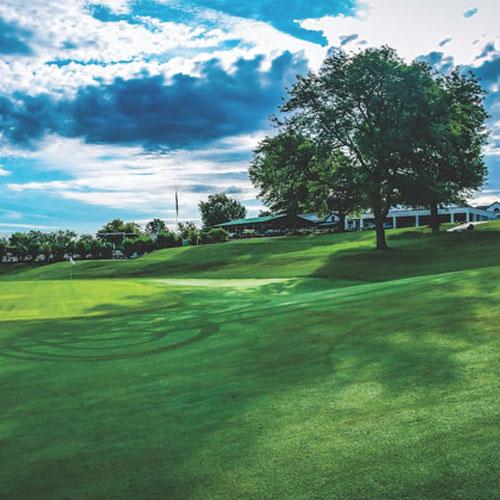
Hole 18
473 Yards
Par 4 | Out: 3588 Yards | Total: 7057 Yards
A beast of a finishing hole that’s not only long but also narrow. The drive on this par 4 is the key to scoring well on this closing hole. The approach to the large green provides room for error, but a poor drive will likely lead to a recovery lay up and an inflated score. The green is protected on the left with a steep grass slope and to the right with randomly placed pot bunkers. A great final test that will certainly reward good shots and bold play!
